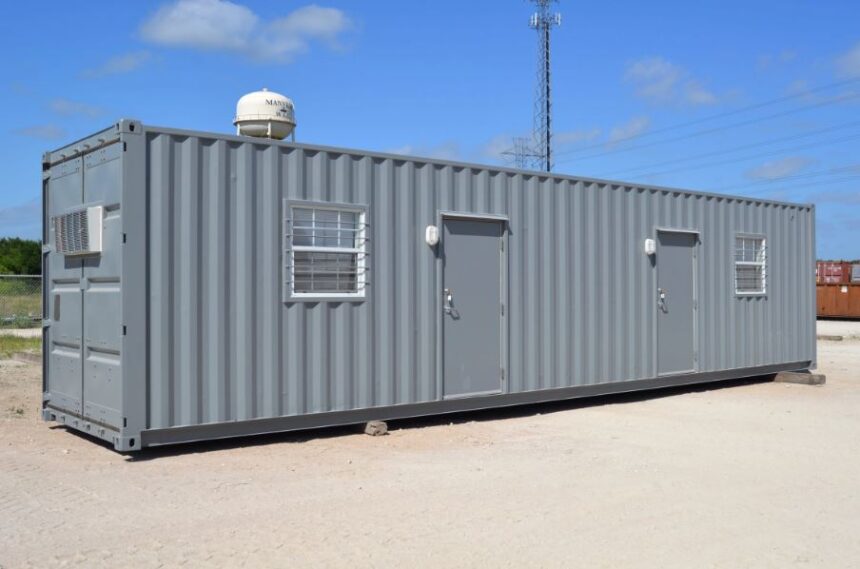
Shipping containers are versatile structures that can be repurposed into homes, offices, or storage units. However, to make a container comfortable and functional throughout the year, proper insulation is essential. Insulating a shipping container ensures it remains energy-efficient, temperature-controlled, and protected from condensation, regardless of the season.
Here’s a step-by-step guide on how to insulate your shipping container for year-round use, along with an overview of insulation methods and materials to consider.
1. Why Insulation Is Crucial
Steel, which is very conductive, is used to make Shipping containers. This means they heat up quickly in the summer and lose heat rapidly in the winter. Without insulation, the interior of a container can become unbearably hot or cold, depending on the weather.
Insulation serves several purposes:
- Temperature Regulation: Keeps the interior comfortable by preventing extreme temperature fluctuations.
- Energy Efficiency: Reduces the need for excessive heating or cooling, lowering energy costs.
- Moisture Control: Prevents condensation, which can lead to rust, mold, and damage to your container and its contents.
2. Choosing the Right Insulation Material
There are several insulation options available, each with its own advantages and disadvantages. Choosing the right material depends on your budget, climate, and intended use for the container.
Spray Foam Insulation
- Advantages: Provides excellent thermal insulation, seals gaps, and acts as a vapor barrier to prevent condensation.
- Disadvantages: Higher upfront cost and requires professional installation for best results.
- Best For: Extreme climates or when airtight sealing is essential.
Rigid Foam Boards
- Advantages: Affordable, easy to install, and effective at providing thermal insulation.
- Disadvantages: Does not act as a vapor barrier and may require additional sealing to prevent moisture.
- Best For: DIY projects or moderate climates.
Blanket (Batt) Insulation
- Advantages: Widely available, affordable, and easy to handle during installation.
- Disadvantages: Requires a moisture barrier and can lose effectiveness if exposed to water.
- Best For: Insulating walls and ceilings in less humid environments.
Reflective Insulation
- Advantages: Reflects heat, making it effective in hot climates. Lightweight and easy to install.
- Disadvantages: Less effective in colder climates and doesn’t provide much thermal resistance on its own.
- Best For: Hot regions where heat deflection is a priority.
3. Preparing Your Shipping Container
Before adding insulation, it’s important to prepare the container to ensure the insulation adheres properly and remains effective over time.
Step 1: Clean the Interior
Remove any dirt, rust, or grease from the walls, ceiling, and floor of the container. Use a wire brush or grinder to eliminate rust spots, and apply a rust-resistant primer to prevent further corrosion.
Step 2: Seal Gaps and Cracks
Inspect the container for any gaps, holes, or leaks. Seal these using caulk or weatherproof sealant to prevent air and moisture infiltration.
Step 3: Add a Vapor Barrier (if needed)
In humid climates, install a vapor barrier to protect the container from condensation, which can damage insulation materials and lead to rust.
4. Insulating the Walls
The walls of the container are the largest surface area and the most critical to insulate. The installation procedure will change depending on the material selected:
- Spray Foam: Using a sprayer, evenly distribute the foam over the walls. Before cutting off any excess, let it expand and cure.
- Rigid Foam Boards: Cut the boards to fit between the container’s ridges, then secure them with adhesive or screws. Seal gaps with foam sealant for better efficiency.
- Batt Insulation: Attach a frame or studs to the walls, fit the batt insulation between them, and cover with plywood or drywall.
5. Insulating the Roof
The roof is another key area to insulate, as it is directly exposed to sunlight and can quickly transfer heat into the container.
- Use spray foam or rigid foam boards to cover the roof’s interior.
- For additional protection, consider installing a reflective coating or green roof on the exterior to deflect heat and reduce energy costs.
6. Insulating the Floor
Shipping container floors are typically made of wood, which provides some natural insulation, but additional measures are often needed.
- Spray Foam: Ideal for sealing gaps and insulating uneven surfaces.
- Rigid Foam Boards or Batt Insulation: Add these under a layer of plywood or another subflooring material.
- Ensure proper moisture sealing to prevent water damage from below.
7. Finishing Touches
Once the insulation is in place, finish the interior with drywall, plywood, or another material of your choice. This not only improves aesthetics but also adds another layer of protection for the insulation.
To enhance energy efficiency, consider adding insulated windows and doors, as well as ventilation systems to maintain airflow and prevent moisture buildup.
Insulate Your Shipping Container
Insulating your shipping container is essential for making it comfortable, functional, and suitable for year-round use. Whether you’re transforming the container into a home, office, or storage unit, choosing the right insulation material and installation method is key to achieving optimal results.
By preparing the container properly, addressing moisture concerns, and using durable insulation materials, you can create a space that remains energy-efficient and climate-controlled throughout the year. With a well-insulated shipping container, you can enjoy comfort and functionality, no matter the season.


